How did you do this? Have any more pics or did you make a thread about it?
Trial and error. Thanks for the compliment. Basically everything I did was a first for me. I'd normally be scared to take on something like this, but after checking the price of a replacement stock if I screwed up, (About $75?) I decided it was a risk worth taking.
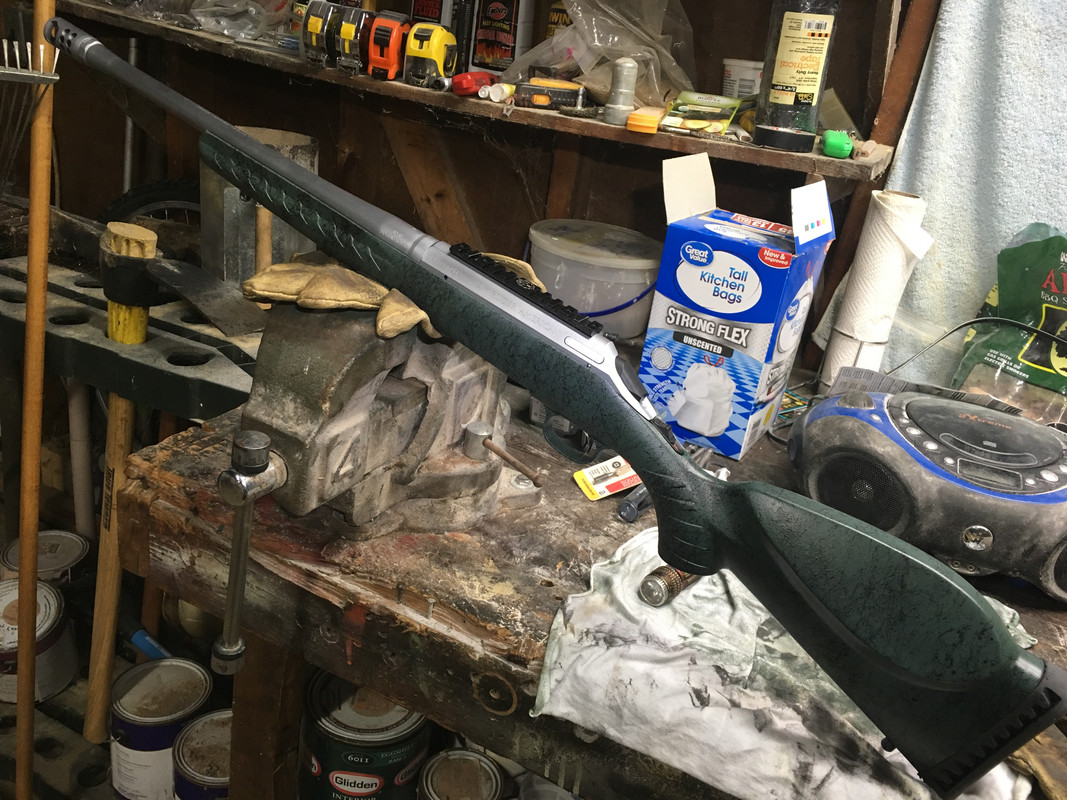
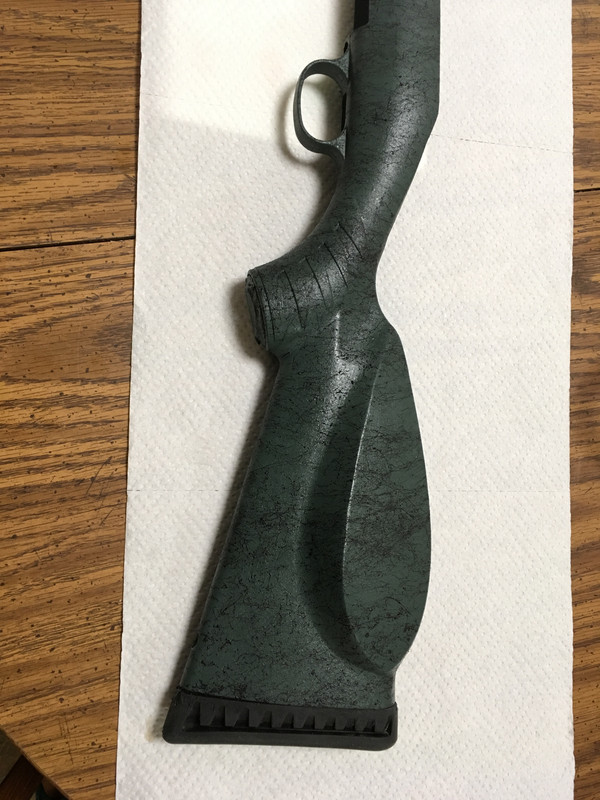
I decided the stock was a skosh too long to operate the bolt from off my shoulder, so after removing the pad and checking it out, I discovered the stock is hollow and I cut it back a little. I found that I could use my Dremel to open up the inside a touch, because the pad slips inside of it, and reuse the factory pad, so I did. It isn't perfect, the lines from the stock to the pad don't blend in, but it'll do. I accidentally Dremeled thru the stock at one point, but used some JB Plastic Weld to touch it up. You can still see it, but it's more for function than show, so I'll live with it.
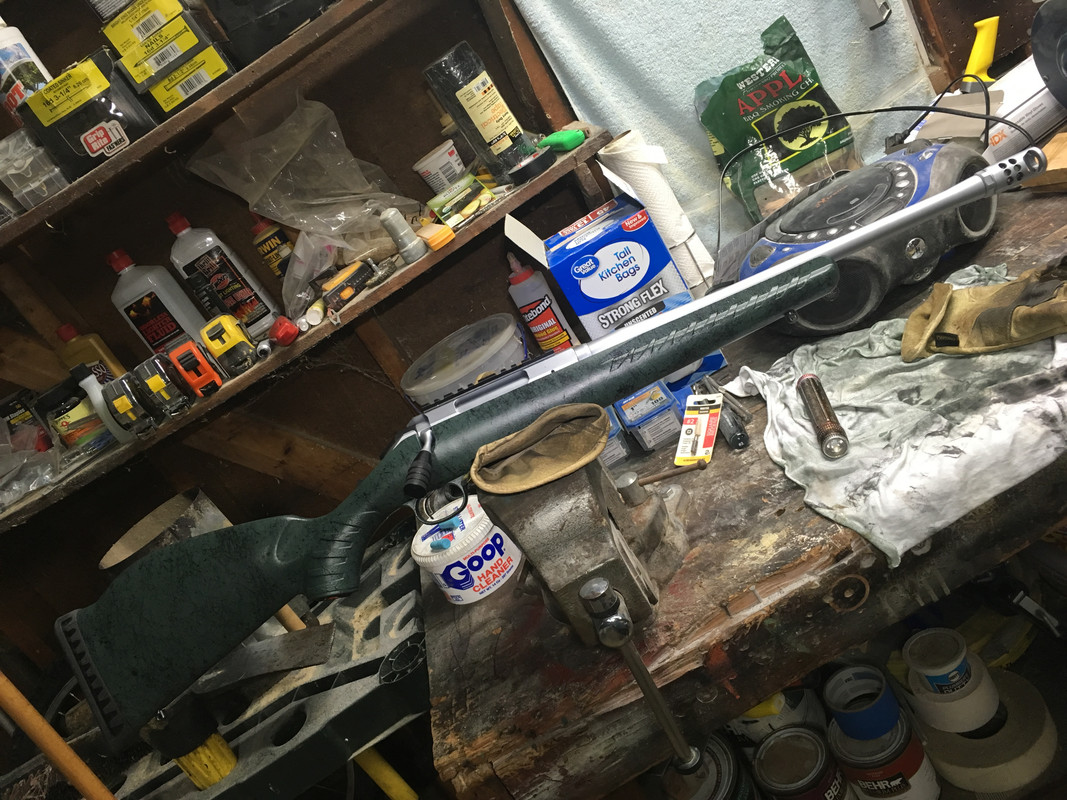
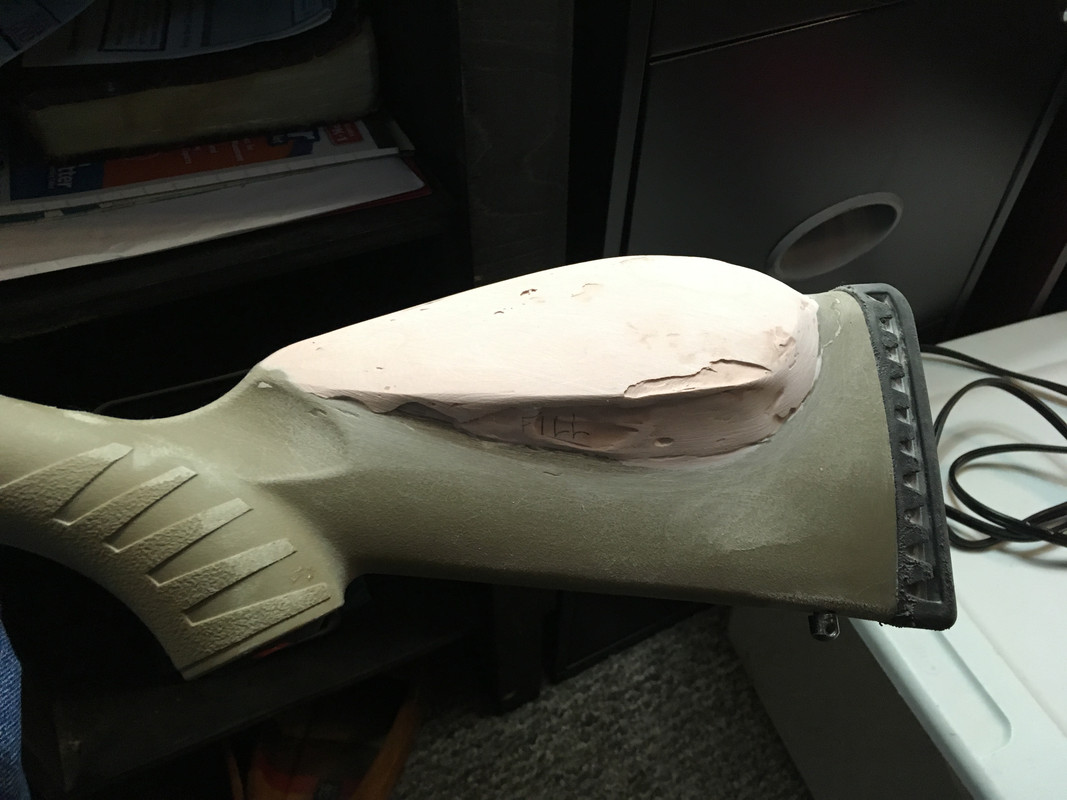
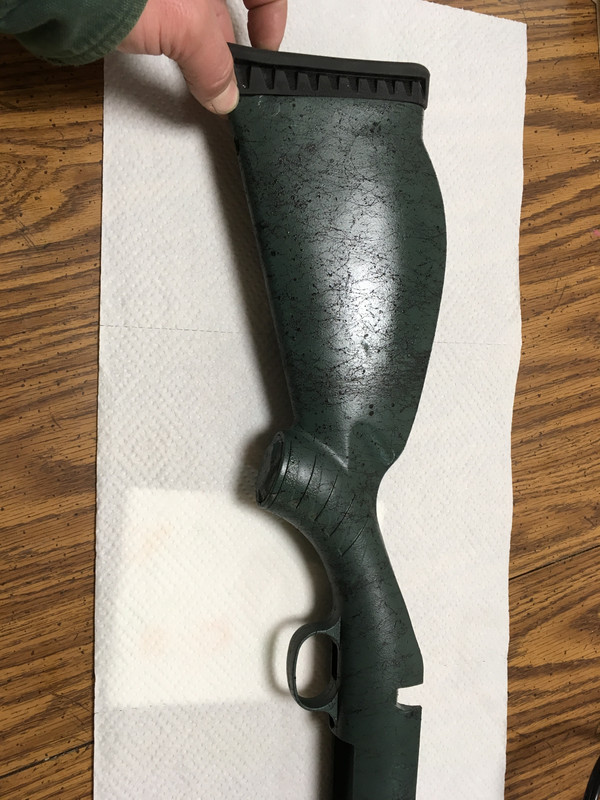
My cheekpiece was originally way too low for my scope and I've always kind of liked the Weatherby look, so I used pictures of what I wanted it to look like and then started adding JB Plastic Weld to my stock thinking I would build it up with that. However, after using an entire tube of it and basically getting nowhere, (well I may have added 1/8" of an inch with the whole tube) I started using pieces of material and gluing them to the top with the JB Plastic Weld. In my case, I'm a truck driver and come across a bunch of cut or broken plastic seals so I used those.
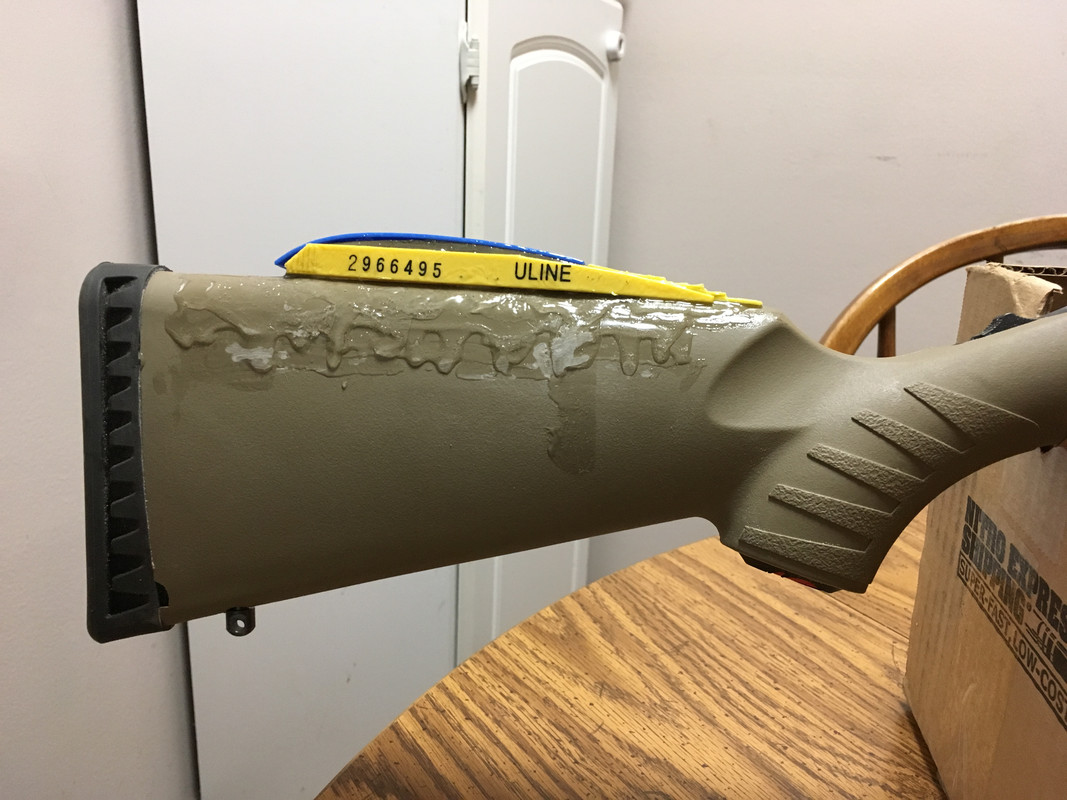

After getting it somewhere in the ballpark, I decided to try my hand at Bondo. I had problems with little tiny bubbles forming, but eventually I got it somewhat satisfactory using layer after layer and sanding in between. I had no prior experience with it either, but info off the internet is a powerful tool! One thing I had to keep checking on though, was this was the maximum height I could make the cheek piece and still get the bolt out without taking the stock off. At one point I had gone too high and had to sand some off. This was the absolute max I could go and still get the bolt out, but it was enough.
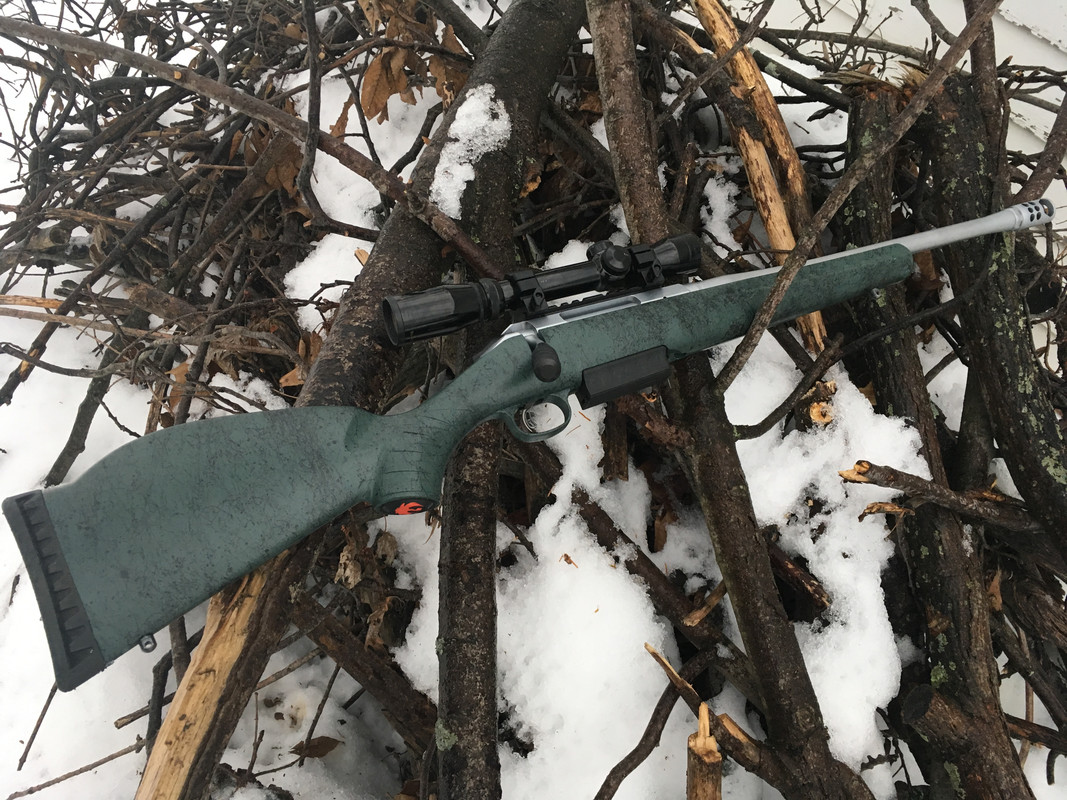
After I finished all of that, I tried some Rust-Oleum "Satin Moss Green" and was horrified that it wasn't the shade I pictured. More like neon green.
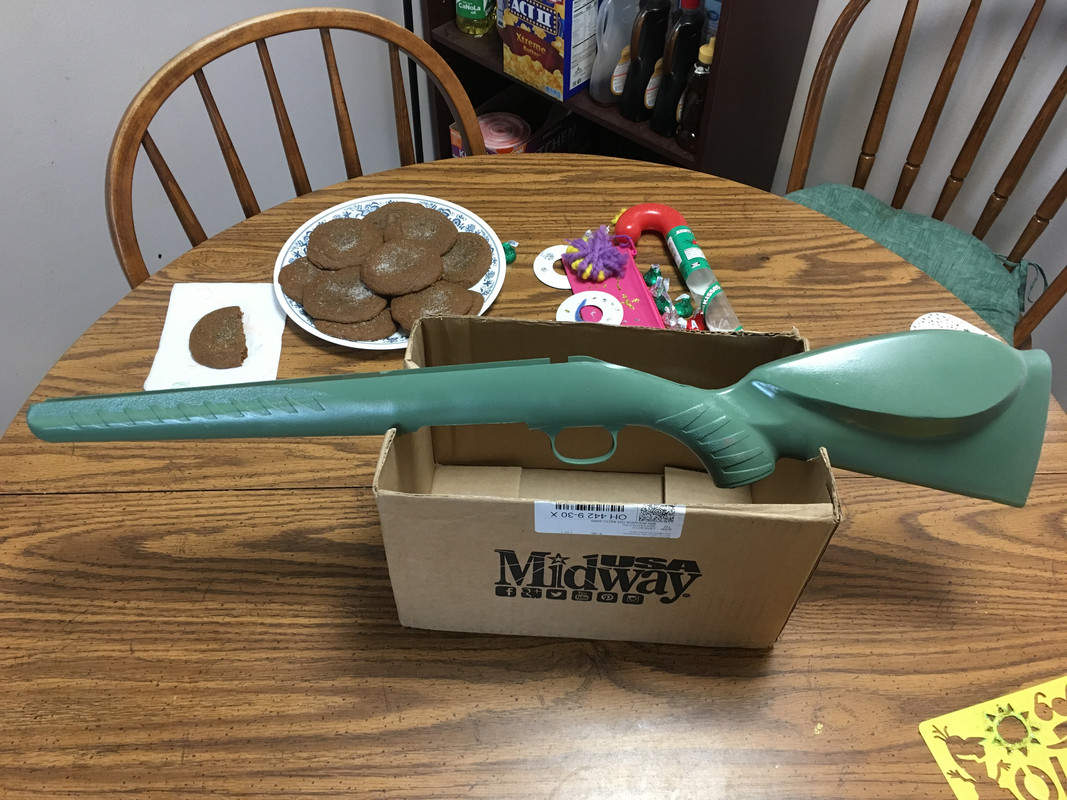
I repainted it using Rust-Oleum "Satin Hunt Club Green". Turned out to be close enough to perfect.
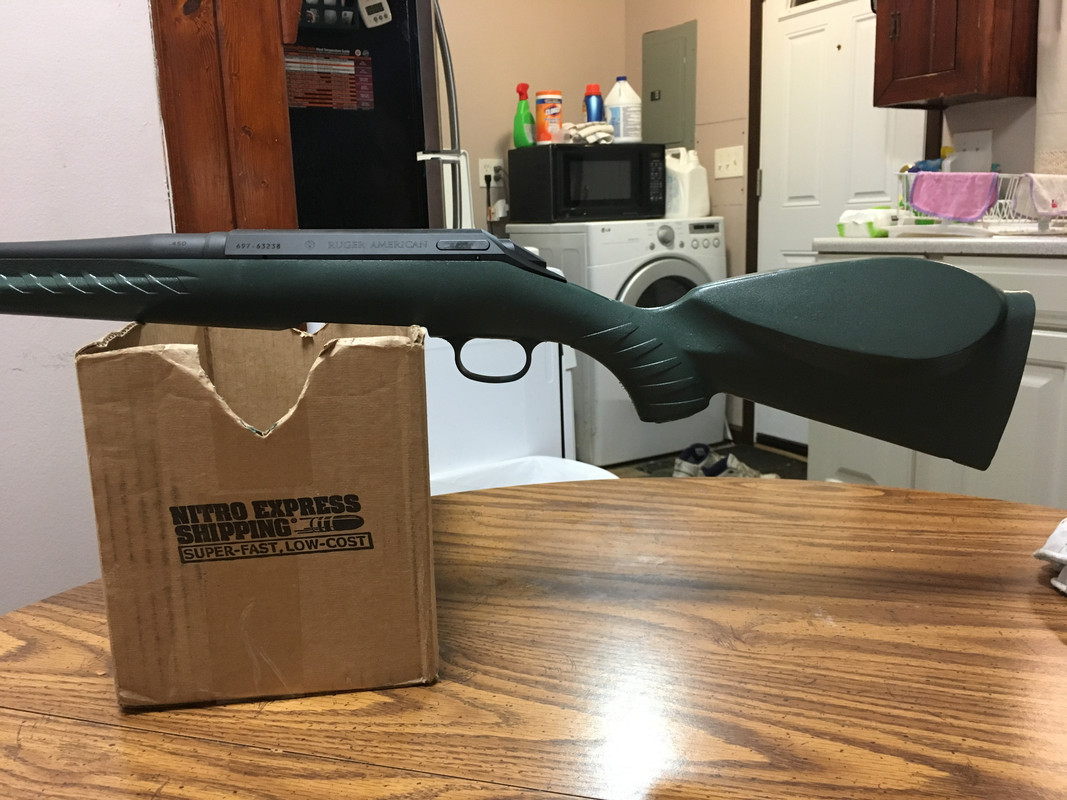
I also wanted the webbing look, and after checking out every store in the area unsuccessfully, I went online and ordered two cans of Krylon "Marbelizing" spray (in black). Man, that stuff is cool! Did a quick test on some cardboard. Seems like you just spray it on and it just randomly disperses itself for you!
As for the hard chrome, I used Mahovsky's in PA as they were the cheapest and I've had 4 handguns done there before and have been happy. For the rifle, I wanted my bolt, but not my Glades Armory bolt knob done, so I sent the gun in wearing that bolt, minus the knob. I also wanted to keep my red Ruger emblem on the bottom of the pistol grip as it was, so I taped it up real good before painting.